If you’ve ever said something to your child… and it didn’t seem to “stick,” you’re not alone.
You repeat directions.
You guide them step by step.
And still, it can feel like the message isn’t getting through.
It’s not because your child isn’t capable.
Often, it’s because they need to see the information, not just hear it.
That’s where visual supports come in. To maximize their effectiveness, tailor visual supports to your child’s unique needs and preferences, ensuring they are engaging and appropriate for their learning style.
Visual supports are one of the most powerful tools for helping children with autism build independence—because they make the world clearer, more predictable, and easier to navigate. This can help you feel more confident and capable in supporting your child’s growth.
What Are Visual Supports?
Visual supports are tools that use pictures, symbols, or written words to help children understand what to do.
They take something that feels overwhelming… and break it into something manageable.
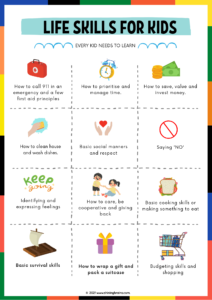
Examples include:
- Visual schedules
- Step-by-step charts
- First/Then boards
- Choice boards
- Visual reminders
These tools help turn abstract instructions into something concrete.
Why Visual Supports Work So Well
Many children with autism are visual learners.
That means they:
- Process visual information more easily than spoken words
- Benefit from seeing steps clearly laid out
- Feel less overwhelmed when expectations are predictable
Instead of relying on memory or verbal instructions, visual supports give them something they can look at and follow.
And that builds confidence.
1. Visual Schedules
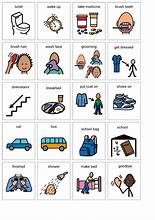
Visual schedules show your child what their day looks like.
This can include:
- Morning routines
- School time
- After-school activities
- Bedtime routines
💡 Why it helps:
It reduces anxiety and helps your child know what’s coming next.
2. Step-by-Step Charts
These break tasks into small, clear steps.
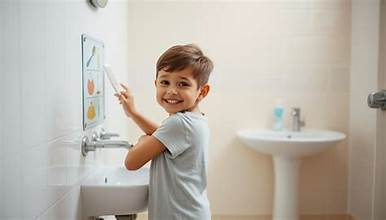
For example, brushing teeth might look like:
- Pick up a toothbrush
- Put toothpaste on
- Brush teeth
- Rinse
💡 Why it helps:
It makes big tasks feel doable.
3. First/Then Boards
This is a simple but powerful tool.
👉 First: complete a task
👉 Then: get a preferred activity
Example:
“First homework, then iPad.”
💡 Why it helps:
It motivates and creates clear expectations.
4. Choice Boards
These give your child options in a structured way.
Instead of asking open-ended questions, you can show:
- Snack choices
- Activity options
- Clothing options
💡 Why it helps:
It builds communication and reduces frustration.
5. Visual Timers & Countdown Supports
Transitions can be tough.
Visual timers or countdowns help your child see how much time is left.
💡 Why it helps:
It prepares them for change and reduces meltdowns.
How to Start Using Visual Supports: If you encounter resistance or difficulty, start small and be patient. Gradually introduce visuals, and involve your child in choosing or creating them to foster engagement and reduce frustration.
You don’t need to create everything at once.
Start simple:
- Pick one routine (morning or bedtime)
- Create a basic visual chart
- Use it consistently
Consistency matters more than perfection.
Keep It Simple and Clear
When creating visuals:
- Use simple pictures or icons
- Keep steps short
- Avoid clutter
The goal is clarity—not complexity.
A Gentle Reminder for Parents
If something isn’t working, it doesn’t mean your child can’t learn.
It might just mean your child needs a different way to understand, which can help you feel more hopeful and motivated to find effective solutions that reduce frustration for both of you.
Visual supports aren’t a “crutch.”
They are a bridge to independence.
Conclusion
Visual supports give your child something powerful:
👉 Clarity
👉 Confidence
👉 Independence
And the best part?
They turn everyday moments into learning opportunities—without overwhelm.